
Newborn Photography on a Budget: Tips for Beginning Photographers.
Welcome to your beginner’s guide and tips to newborn photography on a budget!
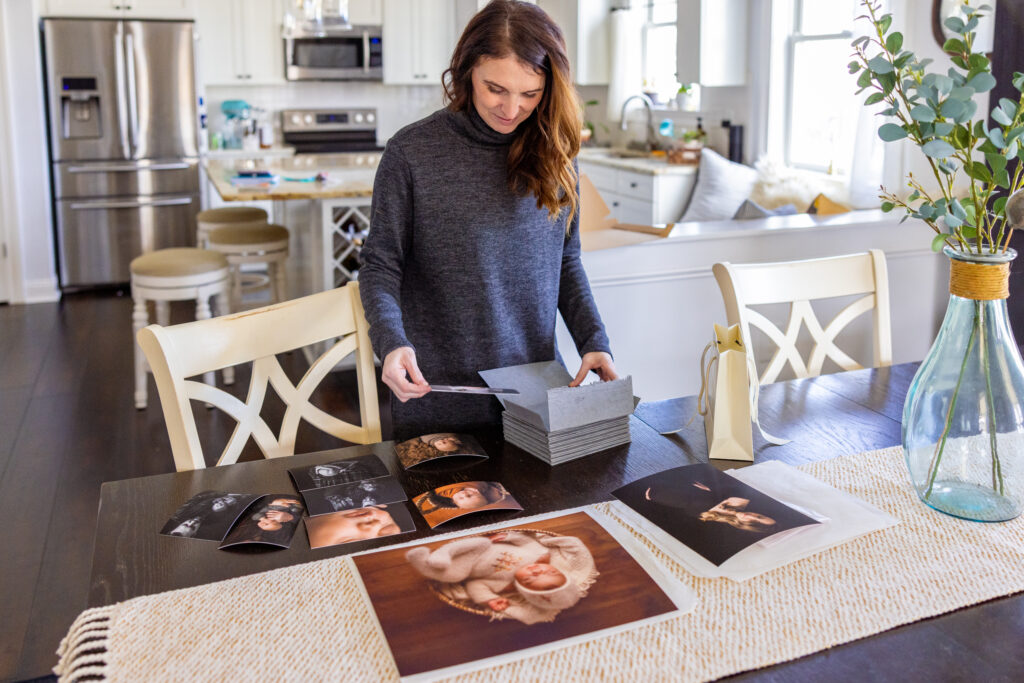
As you embark on this exciting journey capturing those precious moments, it’s important to make wise investments to get you through your first session without breaking the bank. Let’s dive into the essentials (excluding the business side- that is a whole other blog post for another day) and cover your must have items with these newborn photography tips:
Education:
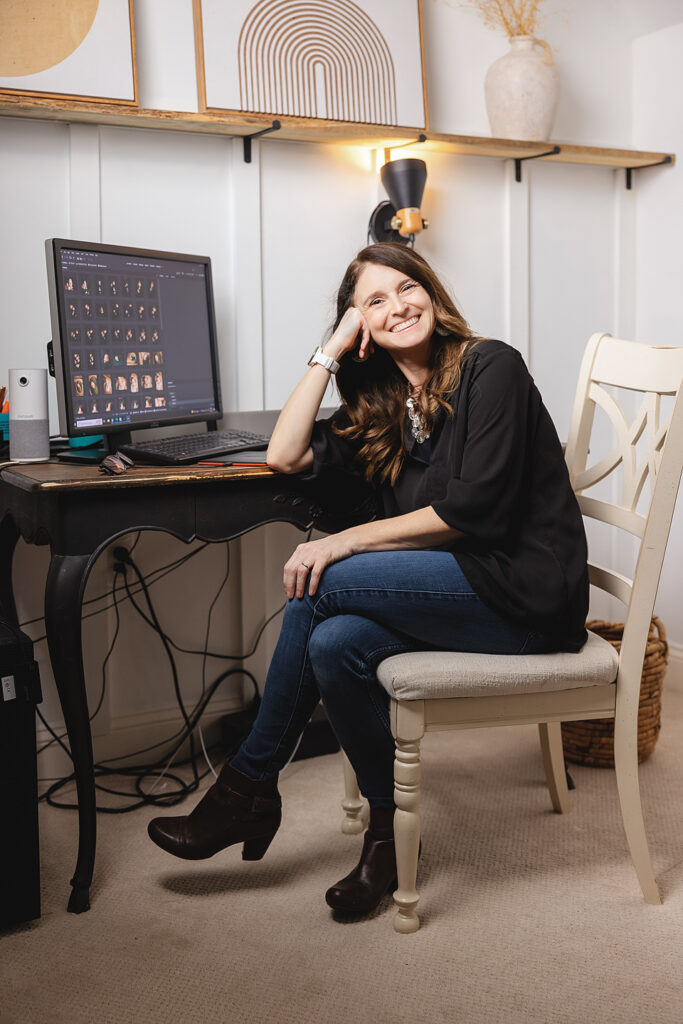
Begin your journey by learning from experts who work with babies on a daily basis. Search for online tutorials, workshops, or mentorship programs that align with your budget. Utilize resources like Google to find valuable educational materials. Mastering the safe handling and effective posing of newborns is essential. Participating in workshops or mentorship programs offers the benefit of observing professionals in action and receiving immediate feedback. Personally, I provide 1:1 mentoring to photographers, tailoring the knowledge to their skill level and ensuring I’m available to address all their questions without any time constraints. Personally, I prioritize investing in education before splurging on props or equipment. Online workshops typically range from $200 to $2000, while in-person workshops start around $1500, excluding travel expenses. It’s a wise investment in honing your skills and knowledge to ensure success in newborn photography. More about me here: About ~ Angela McNaul Photography
Gear:
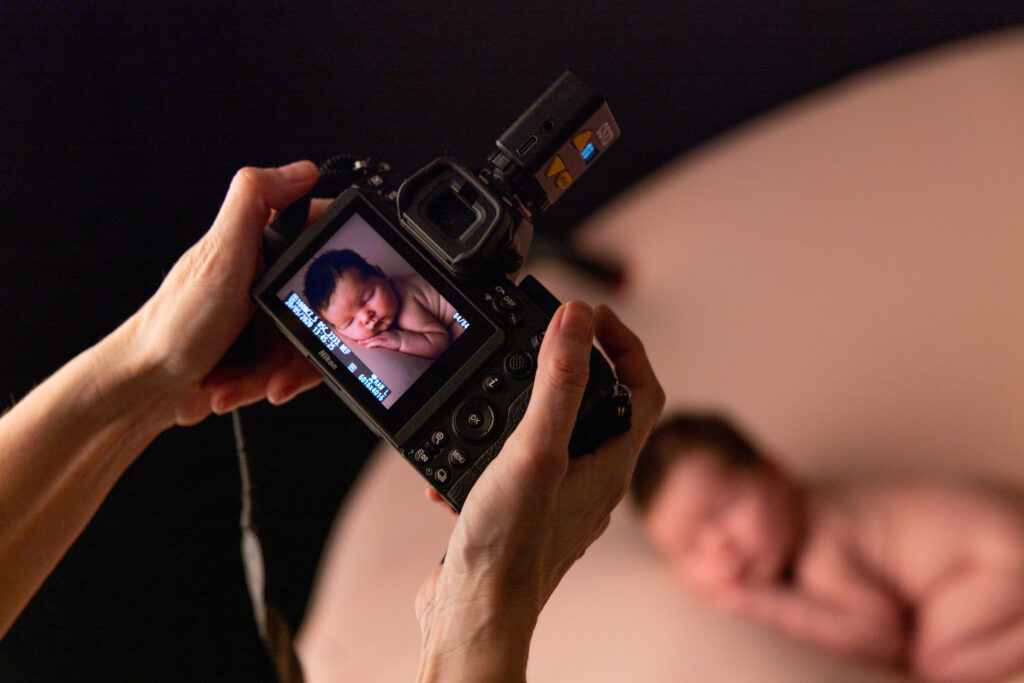
Becoming a newborn photographer without a DSLR or mirrorless camera can be challenging. While some photographers start with their iPhones, this may not convey a professional image. Invest in a quality camera and a prime lens. When I began, I purchased a Nikon D60, a $400 camera with a kit lens. However, I quickly upgraded to a 50mm prime lens, which I still use today. You don’t need the most expensive gear; look for reliable options within your budget. If buying used or refurbished, ensure you’re purchasing from a reputable source and check for signs of wear like cracks in the lens or shutter clicks.
When starting out, prioritize mastering natural light photography before investing in studio lighting. I spent about five years as a natural light photographer before transitioning to studio photography. The advantage of natural light is the absence of upfront investment in equipment and the freedom from lugging gear to clients’ homes. However, natural light photography has its challenges. Photos can appear grainy on overcast days with cameras lacking good ISO ranges. Additionally, lighting conditions can fluctuate, affecting white balance. You’ll also need to be near a window for client sessions, which can be limiting when traveling. Despite these challenges, natural light photography can be successful with dedication and adaptability—I managed for five years before transitioning.
Software:
Investing in a computer upfront is a crucial step that may seem costly initially but can save you time and hassle in the long run. Consider subscribing to Adobe Creative Cloud for essential editing tools like Photoshop and Lightroom. These programs are industry standards and offer budget-friendly monthly subscriptions. Remember to calibrate your monitor for accurate color representation, and set aside a small budget for test prints to ensure your images translate well to print.
Here are some additional tools and tips for simplifying your editing process:
- Memory and Storage: Invest in a computer with ample memory, as editing can be memory-intensive. External hard drives are essential for backing up your work.
- Memory Cards: Memory cards are crucial for storing your photos. While a card reader can speed up file transfer, directly syncing your camera with your computer is a viable option, especially if you’re on a tight budget.
- Input Devices: While a computer mouse can suffice, consider investing in a graphics tablet like a Wacom tablet for more precise editing. Start with a budget-friendly option and upgrade as needed.
- Software: Adobe Camera Raw (ACR) and Photoshop are part of the Adobe Creative Cloud subscription and are indispensable for professional editing.
Here’s what you shouldn’t spend money on initially:
- Actions: Let me be clear. I use actions all the time but I also use actions that make my work easier!! Let me say that again louder for those in the back. I use actions that make my work easier. Actions do NOT fix bad photography!! If your SOOC does not look like the SOOC that the vendor shows your photo will NOT look like theirs when you apply the action. Actions are not a one click fits all. You HAVE to adjust the action to make it work for YOUR photography. Please, I beg you. Save action purchasing for later in your more experienced years when you need them!
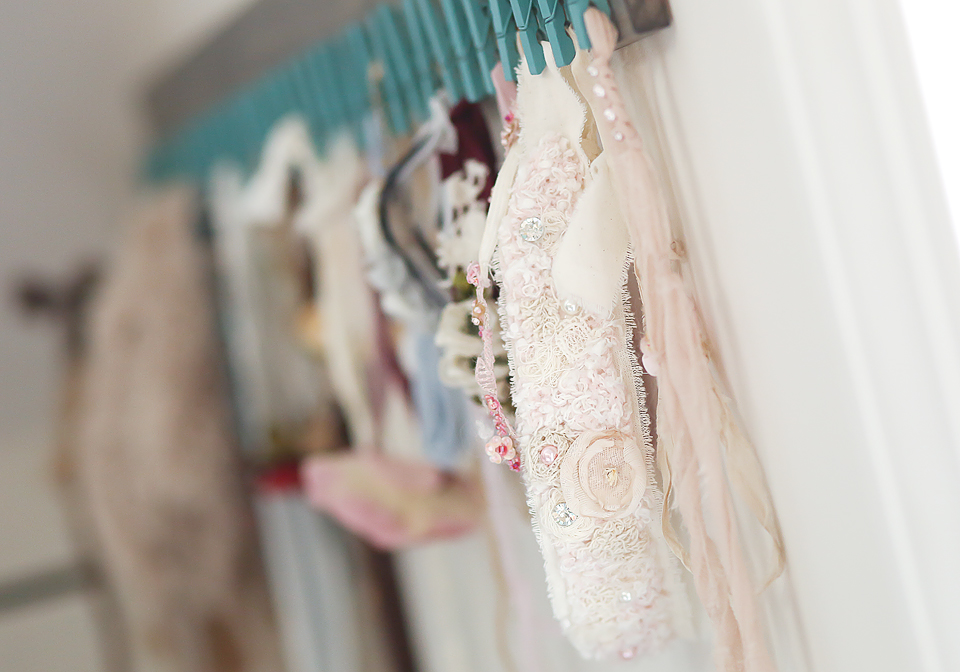
Props:
While it’s tempting to splurge on adorable props, it’s wise to prioritize your spending. Get creative by using items you already have at home or can borrow from your clients. Rolled-up receiving blankets make excellent newborn props, and baskets or containers found around the house can add charm to your compositions. Utilize the floors in your clients house as backdrop or even a throw blanket found around the house. All of these things can be used to keep newborn photos simple and easy AND budget friendly.
Remember, your focus should be on capturing beautiful images while ensuring the safety and comfort of the newborn. As you gain experience and grow your business, you can gradually expand your prop collection and upgrade your equipment. Enjoy the journey of capturing timeless memories while staying within your budget! Feel free to leave a comment below or contact me personally with any questions you may have!
