
Using Generative Fill for newborn editing
5 easy steps to using generative fill in photoshop when editing newborns.
Hey there, let’s chat about one of the coolest upgrades in Adobe Photoshop – generative fill! Seriously, it’s a game-changer.
Remember the old days when filling in backgrounds meant a whole lot of lassoing, layering, and gradient creating? It was like a never-ending cycle of selecting, swatching, and painting. Talk about tedious!
Honestly, it used to take me ages to edit photos because of this. I’d get so bogged down in the process that I’d end up avoiding it altogether. Not ideal, right?
Then came the lifesaver: last year, I splurged on an action to speed things up. Sure, it filled backgrounds like a champ, but it came with a hefty price – it slowed my computer to a crawl and hogged all my memory.
Enter generative fill. This feature is a total time saver! It’s like having a magic wand that zaps away all the hassle. No more creating layers or gradients to fill the space – just click, fill, done!
Thanks, Adobe, for making my editing life a whole lot easier. Generative fill has saved me so much time and frustration, and I couldn’t be more grateful for it
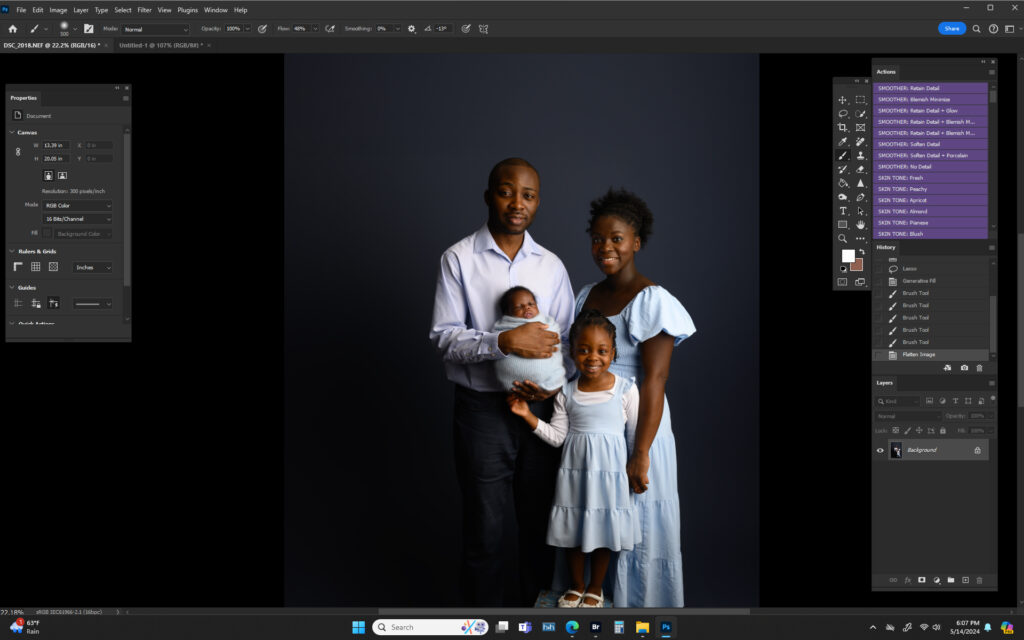
Here are the step by step instructions for how I would edit one of my images using Generative fill from Adobe:
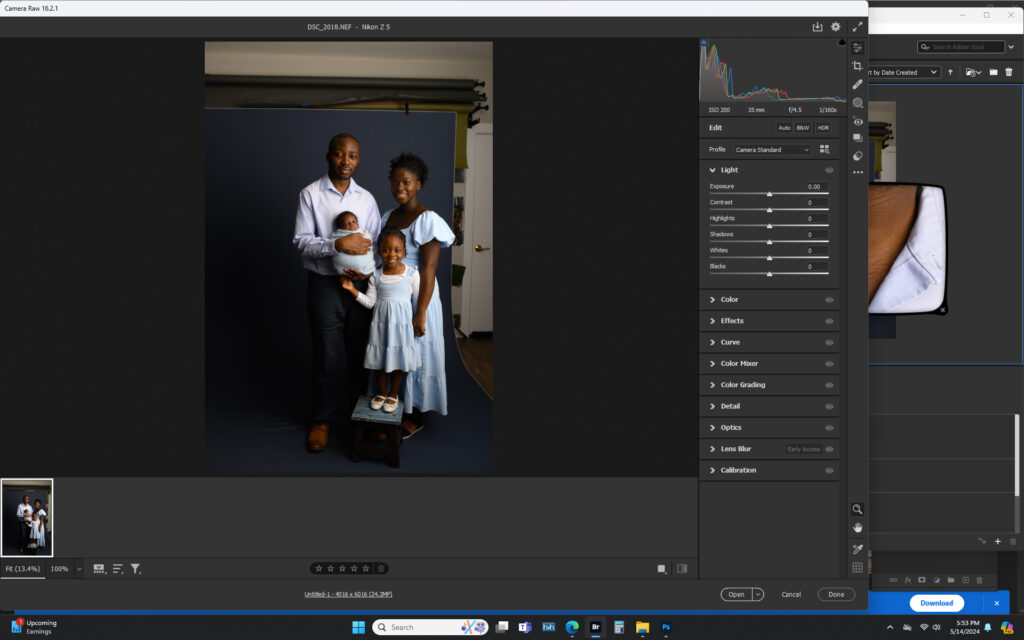
Step 1: Open ACR and Bridge. Make my adjustments (for me its white balance and exposure or whatever other tweaks I like)
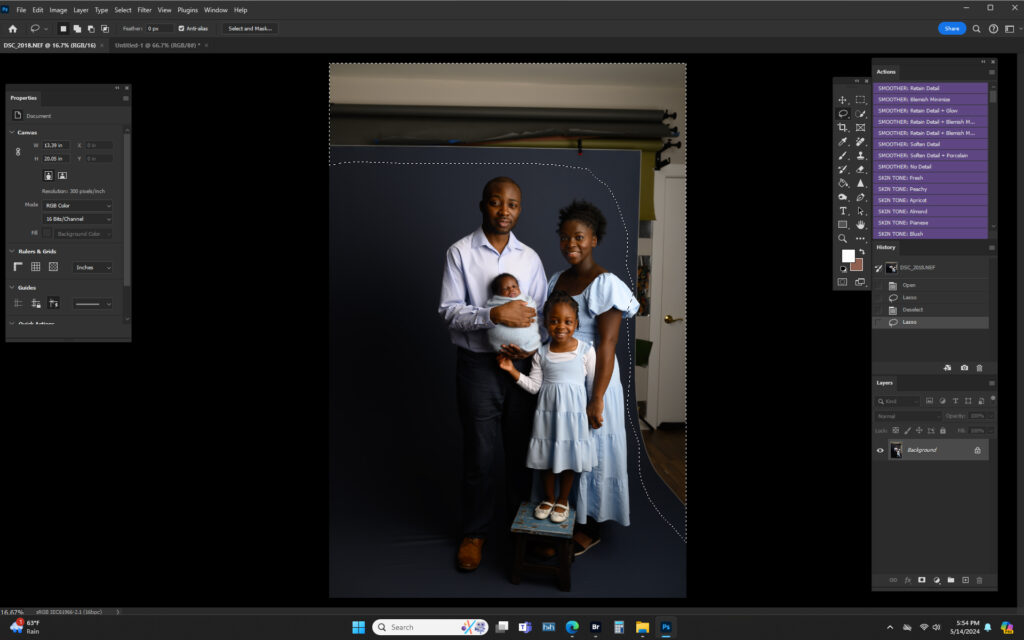
Step 2: Once I am done in ACR, I click open for Photoshop to launch! In photoshop I select the lasso tool and lasso around the area I want to fill.
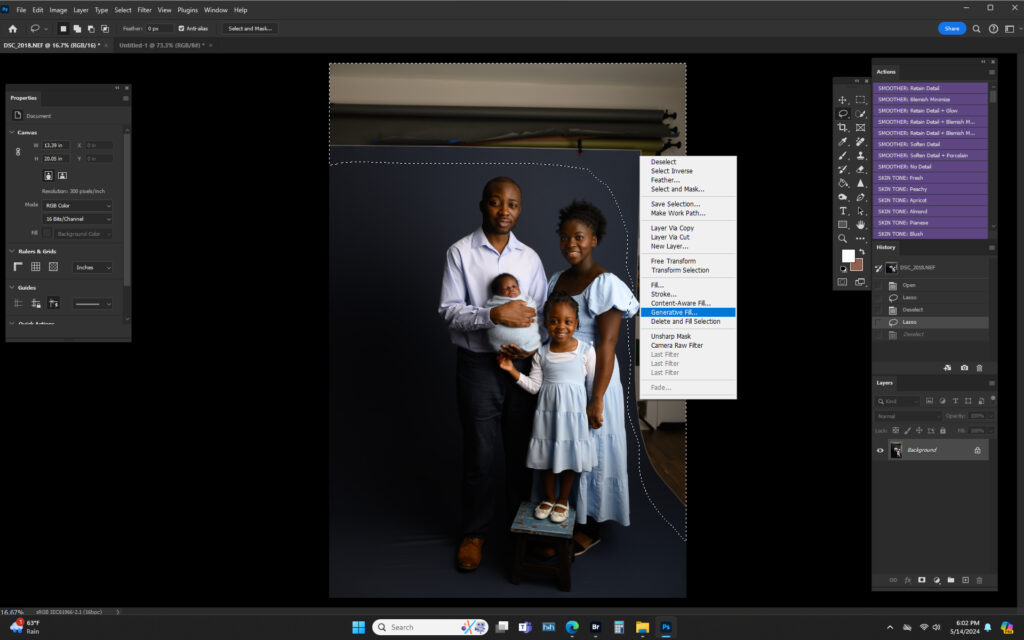
Step 3: The marching ants will appear in the area, right click in the area and a drop down menu will appear. Click the generative fill button.
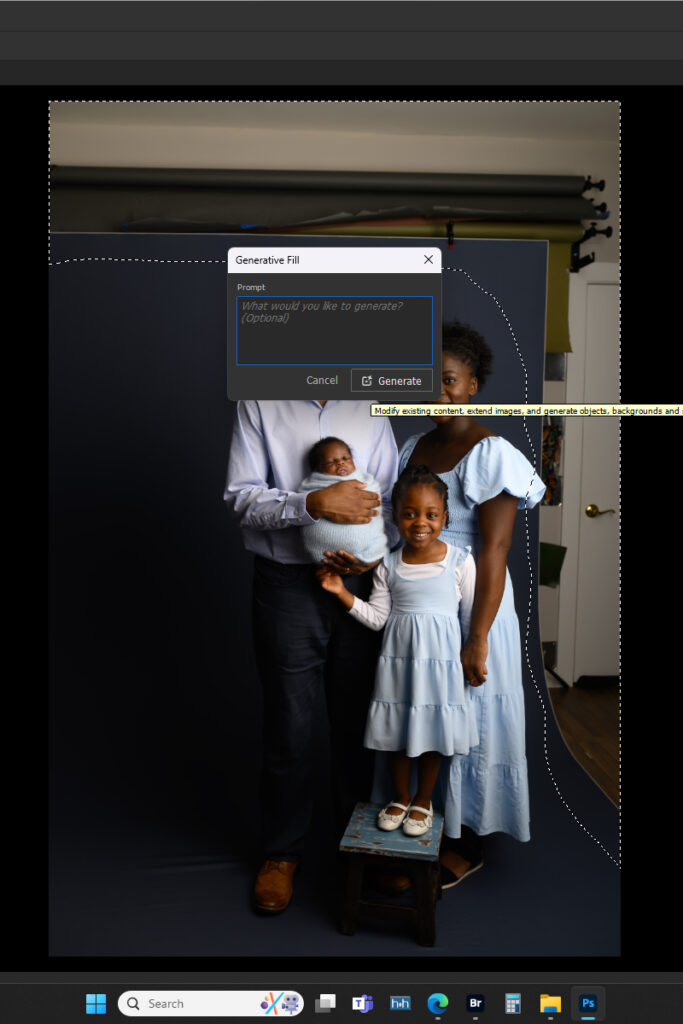
Step 4: Do not put anything in the box when it pops up, leave it completely blank and hit generate.

STEP 5: You will notice (but not always) that you can see the edges where it was filled in. If zoomed in you can definitely see the lines. I like to click on the generative fill layer (in my layers panel) swap to the opposite brush (usually black) and paint back the area so they blend just a bit more.
There you go! All nice and blended and ready for its final edits. Let me know if you want to see me edit anything else using some of photoshops new amazing features! Leave the comment below!
